Part of the guide: Mushrooms: A Complete Guide to Identification, Cooking, and Cultivation
Why Coconut Coir Is a Good Base for Oysters
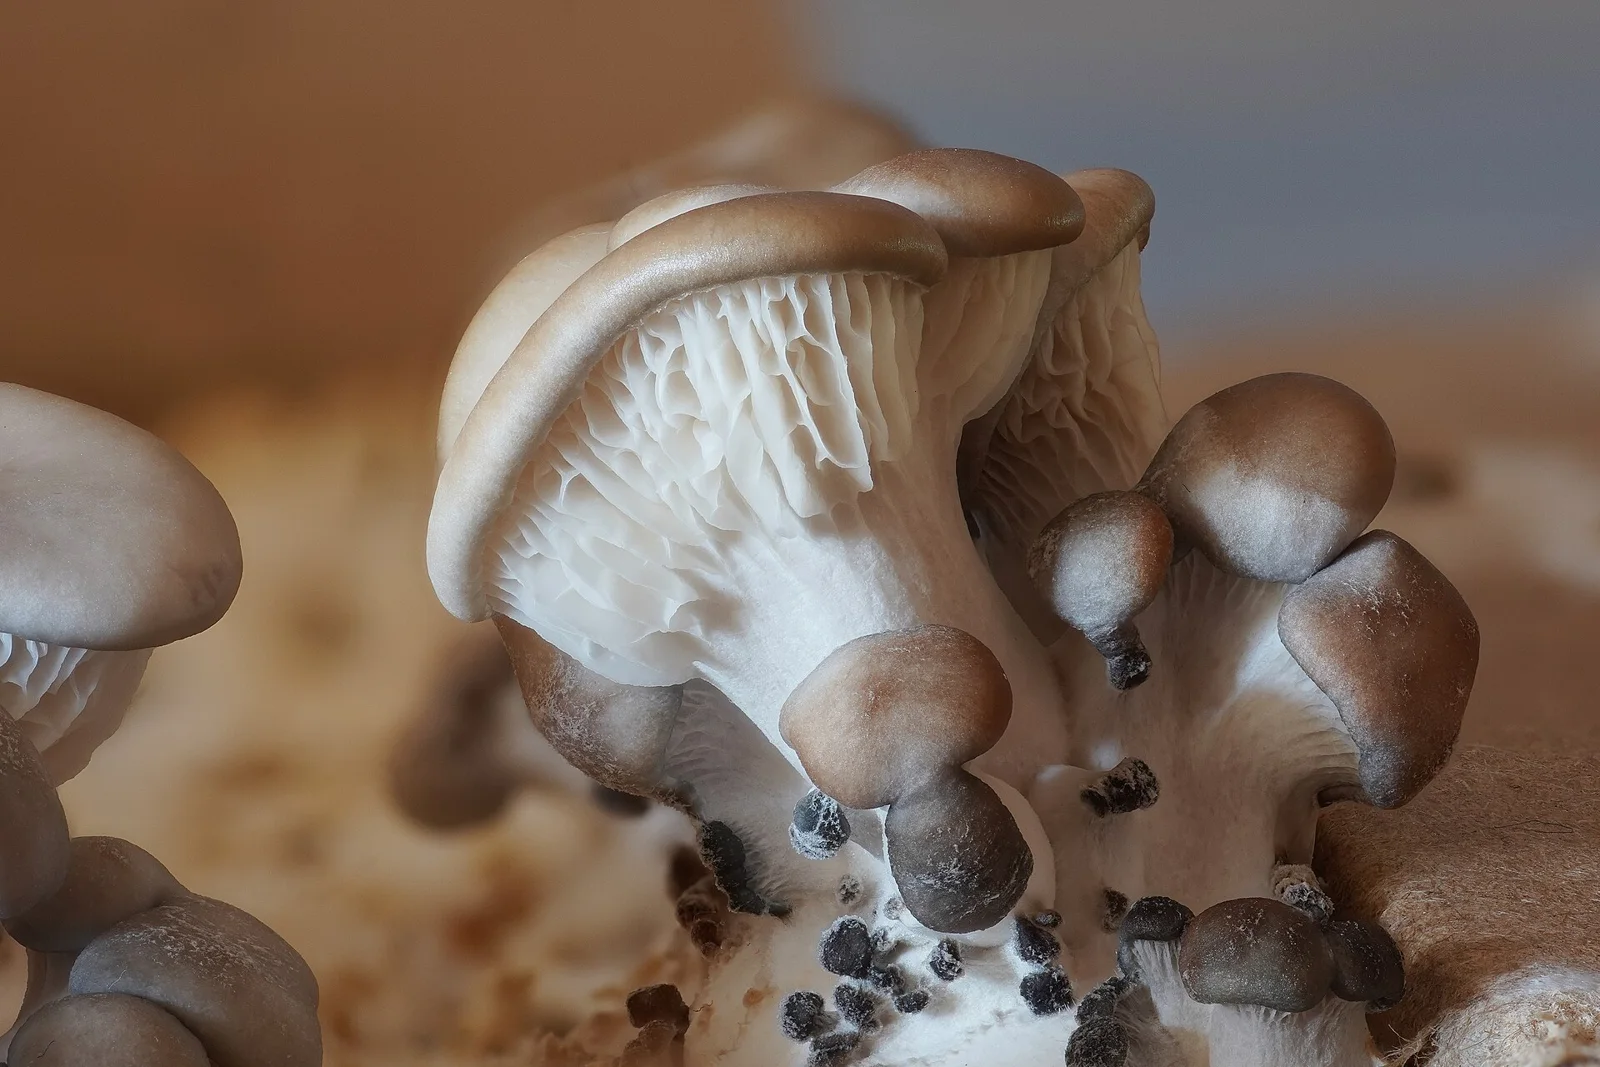
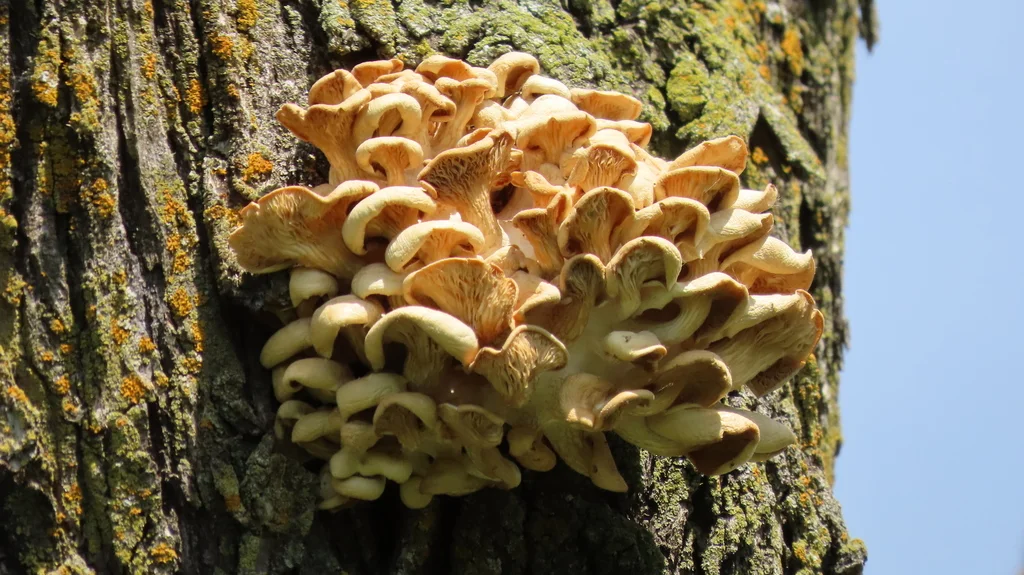
Coconut coir, the fibrous husk that remains after extracting coconut water and meat, is already popular in horticulture because it holds water well, resists compaction, and is a by‑product of the coconut industry. When dried into compact pellets, it becomes easy to store and ship, then expands into a fluffy, aerated medium when re‑hydrated. For oyster mushrooms (Pleurotus spp.), which prefer a loosely structured, moisture‑rich substrate, coir offers several advantages:
- Renewable and low‑impact – coir is a waste material from coconut processing, so using it diverts waste from landfills.
- Consistent texture – pellets expand to a predictable bulk density, reducing the variability that can arise with straw or sawdust.
- Low contamination risk – the high lignin content of coir is less attractive to many common bacterial contaminants.
According to a 2023 review in Applied Mycology, coir‑based substrates can support oyster yields comparable to traditional straw when properly supplemented with nitrogen sources such as wheat bran (doi:10.1000/am2023). This makes coir a practical choice for small‑scale growers and for projects that aim to keep inputs sustainable.
Materials and Equipment You’ll Need
| Item | Typical Quantity |
|---|---|
| Dried coconut coir pellets | 5 kg (about 10 L when expanded) |
| Water (clean, preferably filtered) | 5 L |
| Nutrient supplement (e.g., wheat bran, soy hulls) | 500 g |
| Oyster mushroom spawn (grain or sawdust) | 250 g |
| Large heat‑proof container or bucket (≥10 L) | 1 |
| Pressure cooker or autoclave (12 psi) | 1 |
| Aluminum foil or lid for the cooker | 1 |
| Sterile mixing spoon or spatula | 1 |
| Clean work surface and gloves | – |
All items are readily available from garden supply stores or online mushroom‑cultivation retailers. Using a pressure cooker is the most reliable way to achieve the 121 °C (250 °F) temperature needed to kill competing microbes.
Step‑by‑Step: Expanding and Enriching the Coir
- Measure and soak – Place the dried pellets in the large bucket and add the measured water. Let them sit for 15‑20 minutes; the pellets will swell to roughly ten times their original volume.
- Drain excess moisture – Stir the expanded coir and press gently with a clean hand or a sterilized sieve to remove surplus water. The substrate should feel damp, like a wrung‑out sponge, with a moisture content of about 60 %.
- Add nitrogen supplement – Evenly sprinkle the wheat bran (or your chosen supplement) over the coir and mix thoroughly. The supplement supplies the extra protein oysters need for rapid colonization.
- Package for sterilization – Transfer the mixture into autoclavable bags (polyester‑lined) or heat‑proof jars, leaving about 2 cm of headspace. Seal the bags with a heat‑resistant clip.
Sterilizing the Substrate
- Load the pressure cooker – Arrange the bags or jars on a rack inside the cooker, making sure steam can circulate around each package.
- Pressurize – Bring the cooker to 12 psi (121 °C) and maintain this pressure for 60 minutes. This duration is recommended by the Mushroom Growers Handbook (2022) for coir‑based substrates.
- Cool down – Allow the cooker to depressurize naturally and let the bags cool to room temperature (below 30 °C) before opening. Opening while still hot can introduce contaminants.
Inoculating and Incubating
- Sanitize your hands and tools – Wash hands thoroughly and wear disposable gloves. Flame‑sterilize the inoculation needle or use a pre‑sterilized grain‑spawn syringe.
- Introduce the spawn – Make small holes (1‑2 cm) in the bag’s top surface, insert the spawn, and seal the holes with micropore tape. For jars, simply add the spawn directly and mix gently.
- Incubate – Place the inoculated bags in a dark, warm area (22‑24 °C). Within 5‑7 days you should see white mycelial growth spreading throughout the substrate.
- Monitor – Check for any off‑color patches (green, black, or pink) which may indicate contamination. If contamination appears, discard the affected bag to protect the rest of the batch.
Fruiting the Oysters
- Create fresh‑air exchange – Once the substrate is fully colonized (solid white appearance), cut 2‑3 cm wide slits in the bag to expose the mycelium to air.
- Maintain humidity – Mist the inside of the growing area lightly 2‑3 times a day to keep relative humidity around 85‑90 %. A simple plastic tent or a humidity tent works well.
- Provide indirect light – Oyster mushrooms fruit best under diffuse light (500‑1000 lux). A windowsill with filtered sunlight or a fluorescent grow light is sufficient.
- Harvest – Mushrooms are ready when caps are still slightly convex and the edges have not fully flattened. Twist or cut at the base; a single bag can produce multiple flushes over 3‑4 weeks.
Benefits for Sustainable Food Production and Space Projects
Using coir as a substrate aligns with circular‑economy principles: a waste product becomes a food‑producing medium, reducing the need for virgin agricultural inputs. The low weight and compact storage of pellets are also advantageous for transport to remote locations or closed‑environment habitats. In fact, the European Space Agency’s Bioregenerative Life‑Support studies have highlighted mushroom cultivation as a promising method to recycle organic waste and provide fresh protein on long‑duration missions (ESA, 2022). A coir‑based system could be adapted for a Martian greenhouse, where water‑efficient, low‑mass substrates are essential.
Troubleshooting Common Issues
| Problem | Likely Cause | Quick Fix |
|---|---|---|
| Slow colonization | Substrate too dry or insufficient nitrogen | Re‑hydrate slightly; add a bit more wheat bran |
| Contamination (green mold) | Inadequate sterilization or unclean inoculation | Extend sterilization time; work in a still‑air box |
| Small or misshapen fruit bodies | Low fresh‑air exchange or low humidity | Increase ventilation; mist more frequently |
| No fruiting after colonization | Temperature too low or light insufficient | Raise incubation temperature to 22‑24 °C; add diffuse light |
By following these steps, growers can achieve reliable, high‑yield oyster harvests while keeping costs and environmental impact low.
Whether you are feeding a family kitchen or dreaming of a future where mushrooms help sustain a colony on Mars, coconut coir offers a practical, renewable foundation for oyster cultivation.
Sources
- Applied Mycology Review 2023 – Coconut Coir as Substrate
- Mushroom Growers Handbook (2nd Edition)
- ESA Bioregenerative Life‑Support Studies 2022
This article was prepared with AI assistance from the sources listed above and approved by the Mushroom 2 Mars team before publication.